Below you will find instructions on how to navigate the Coupa Supplier Portal. For more general training led by Coupa, please visit Webinar Registration Page | Coupa Suppliers
Login to the Coupa Supplier Portal
01
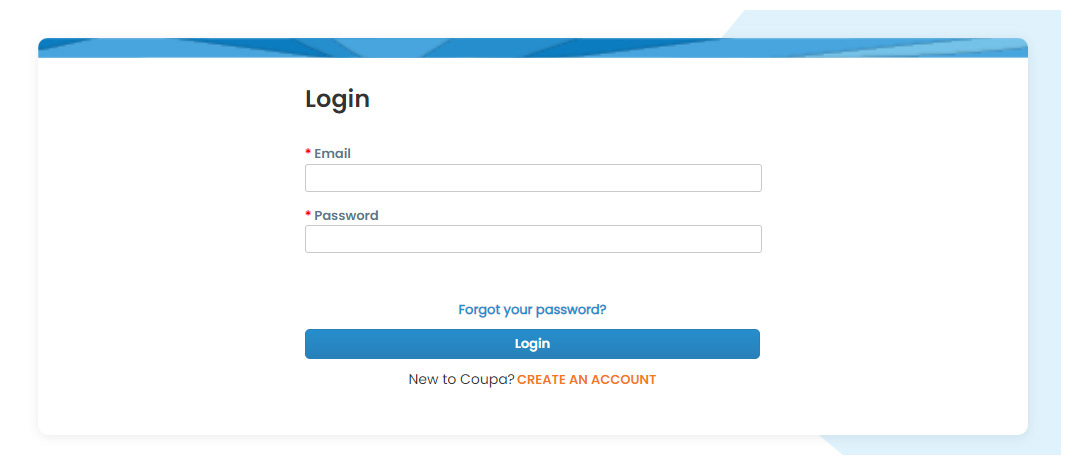
Enter the email and password you created when you first registered and click the "Login" button.
If you forgot your password, click on “Forgot Your Password?” and Coupa will send you an automated email. If you did not receive the email, check your spam or junk folder.
Coupa Homepage
02
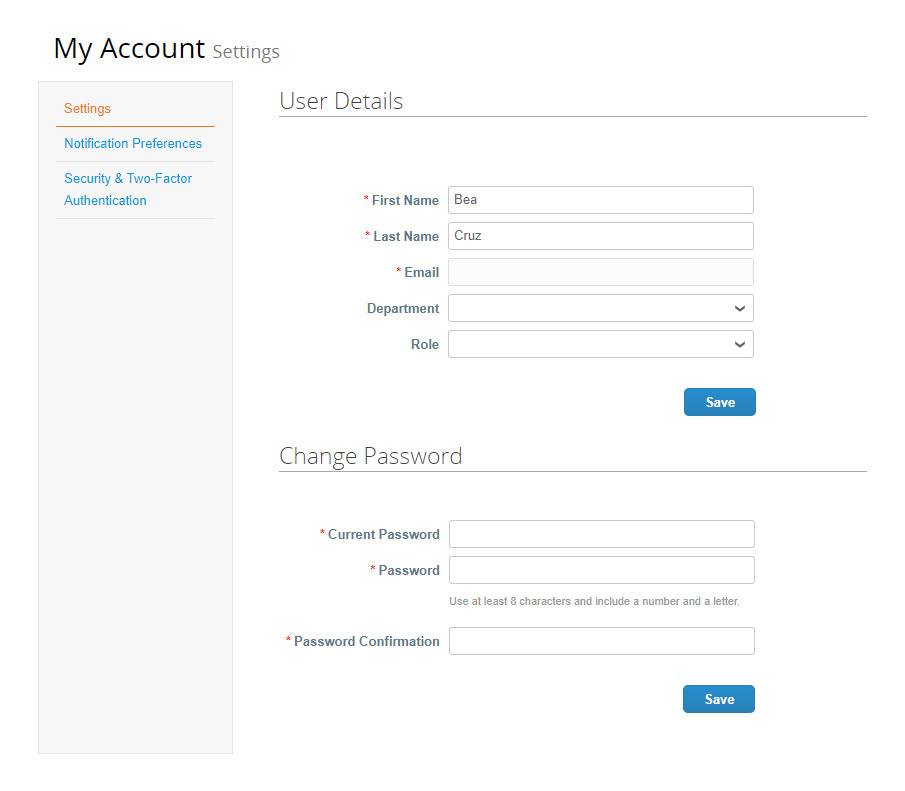
The main tabs you will be using are the Profile, Orders, Invoices, and Setup tabs. Access your account settings by hovering or clicking on your name in the top right corner.

Account Settings
03
Here, you can change your department, role, and your password.
Notifications
04
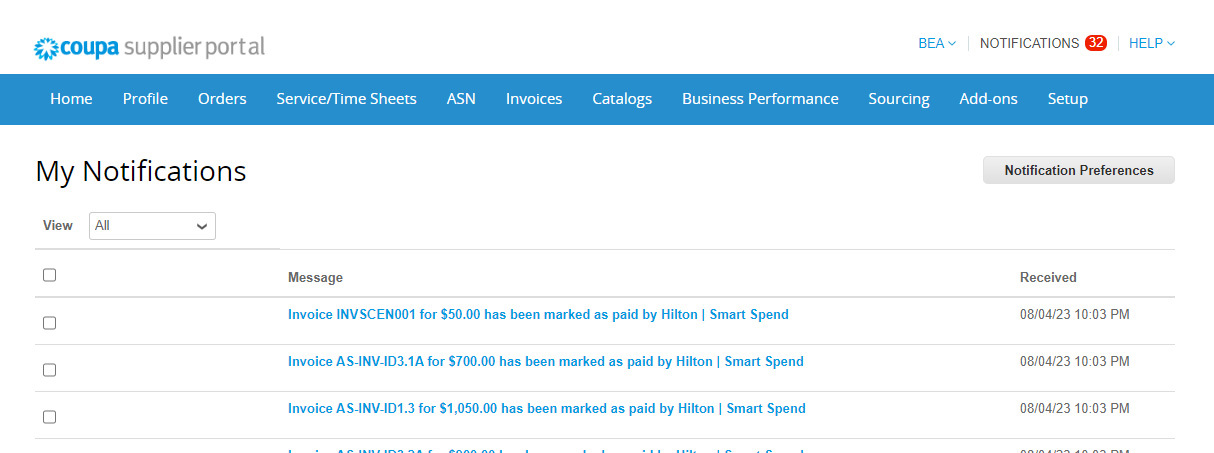
Set your notification preferences by clicking the “Notification Preferences” on the top right corner. Once done, scroll to the bottom and click "Save."
Business Profile
05
Information you change on your public profile will not update or send information back to Hilton.
Please contact your Hilton contact or the Supplier Management team at Suppliersupport@hilton.com.

Orders
06
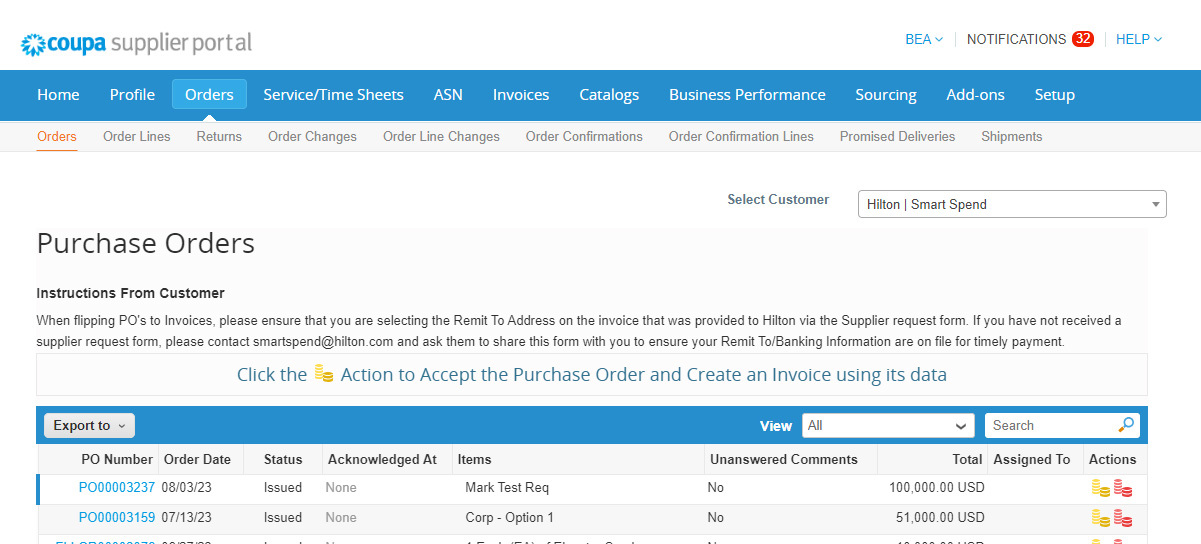
Select your customer to view different purchase orders. Create an invoice from this page by clicking on the gold stack of coins or clicking into the PO number.
If you do not see any purchase orders, please reach out to HSM.
Invoices
07
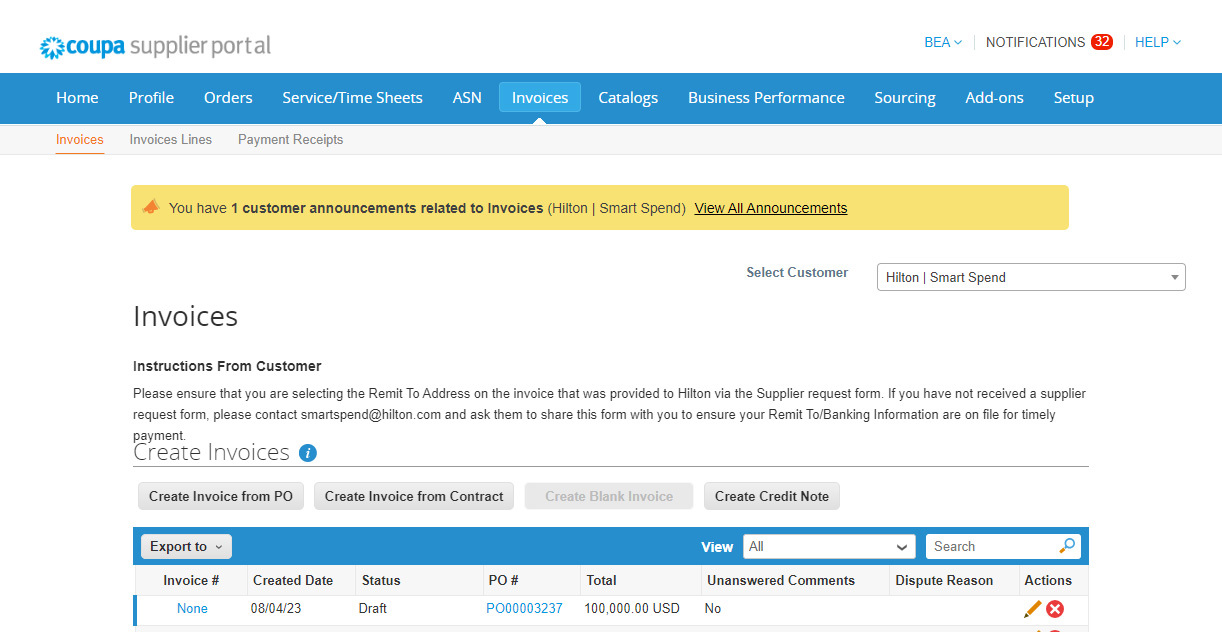
View the status of your submitted invoices. You can use the view function to sort by status or “Create View” to create your own view. You will not be able to edit an invoice once it is submitted.
Admin
08 - Setup
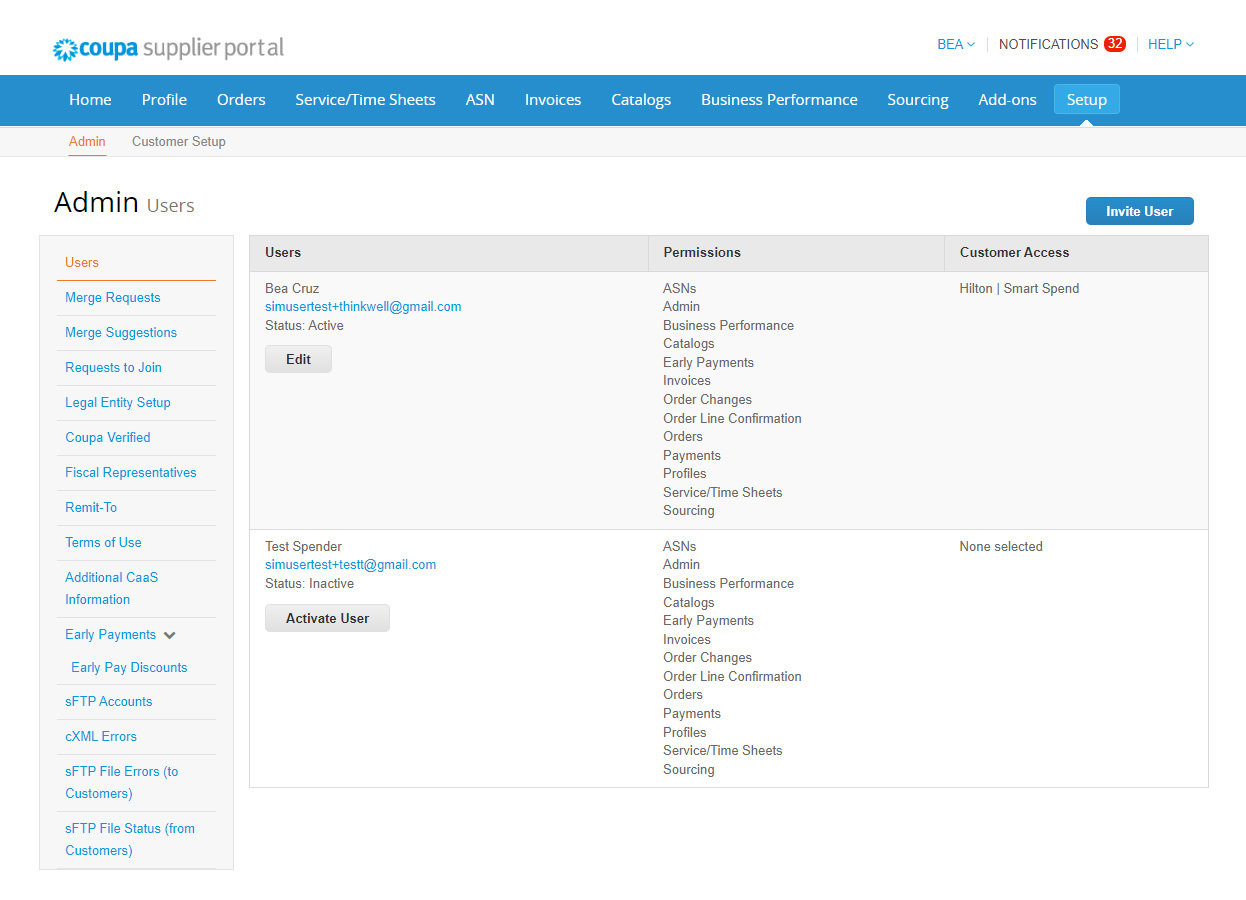
Add users and merge your Coupa accounts.
Invite Users
09
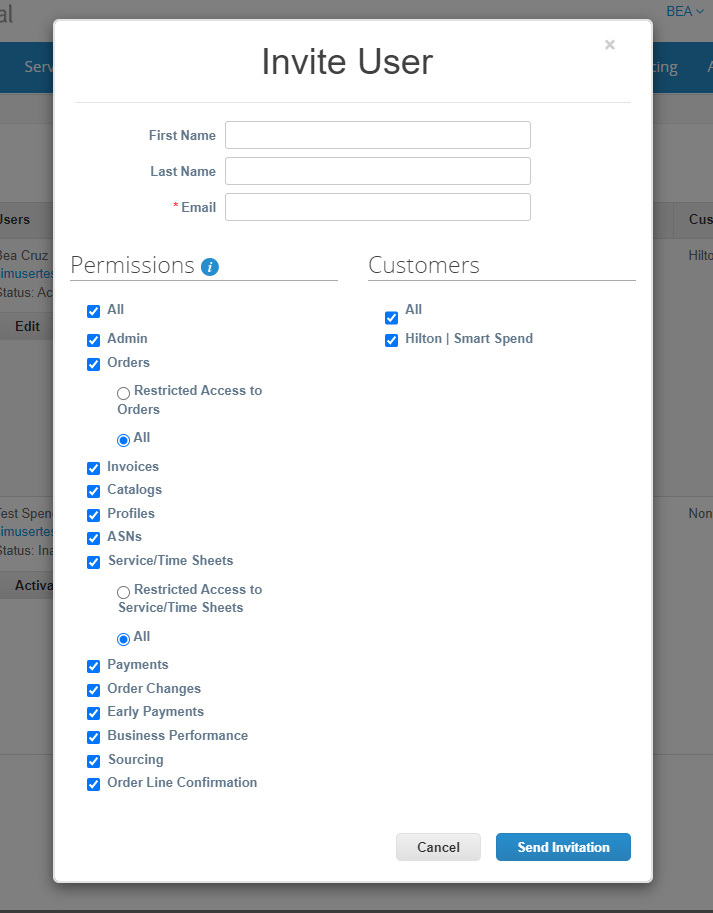
From the top right of the Users tab, click “Invite User.” In the pop-up window, enter the user’s information and then select the permissions and customers they should access. Once done, click "Send Invitation" and an automated email from Coupa will be sent to them.
This should only be used when the user you are wanting to add does not have a Coupa Supplier Portal account.
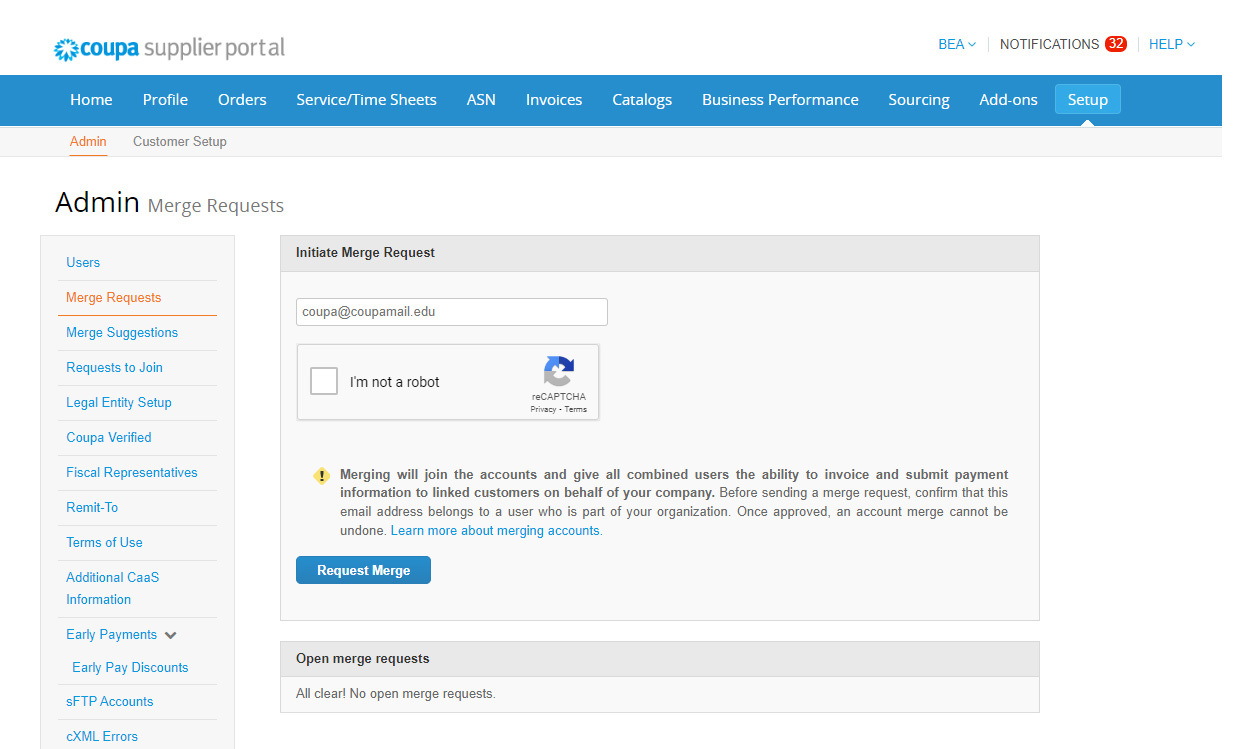
Merge Requests
10
Enter the email address of the other account and click “Request Merge”. A notification will be sent to either accept or decline the merge request.
This should only be used when the user you are wanting to add to Hilton’s account already has a Coupa Supplier Portal account.
Legal Entity Setup
11
Now in the Business Profile Section. View all of the legal entities you created. Deactivate an entity by clicking on the blue “Actions” button to the right. Add a new legal entity by clicking on the grey “Add Legal Entity” button above the list.”

Select a Language
12
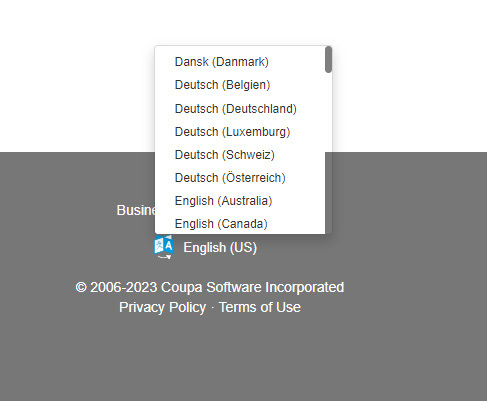
To adjust the language, scroll down to the bottom of the page and click on the English (US) link. Select your language from the drop-down list.
